On December 30, 2013 my husband Pieter did start with the Final Preparations for our 4th Water Control Project. The previous 3, you can find below this post. All prostrate Gardenia shrubs had to be dug up and saved for transplanting them elsewhere. Can you guess what we will be doing here?...
At the Bay Window and Veranda side of the house...
Cat-man and supervisor Bandido looks on.
Freshly built concrete wall with Scallop Concrete Edger, just as is done on the outside (seen to the left)...
All shrubs have to be taken out here!
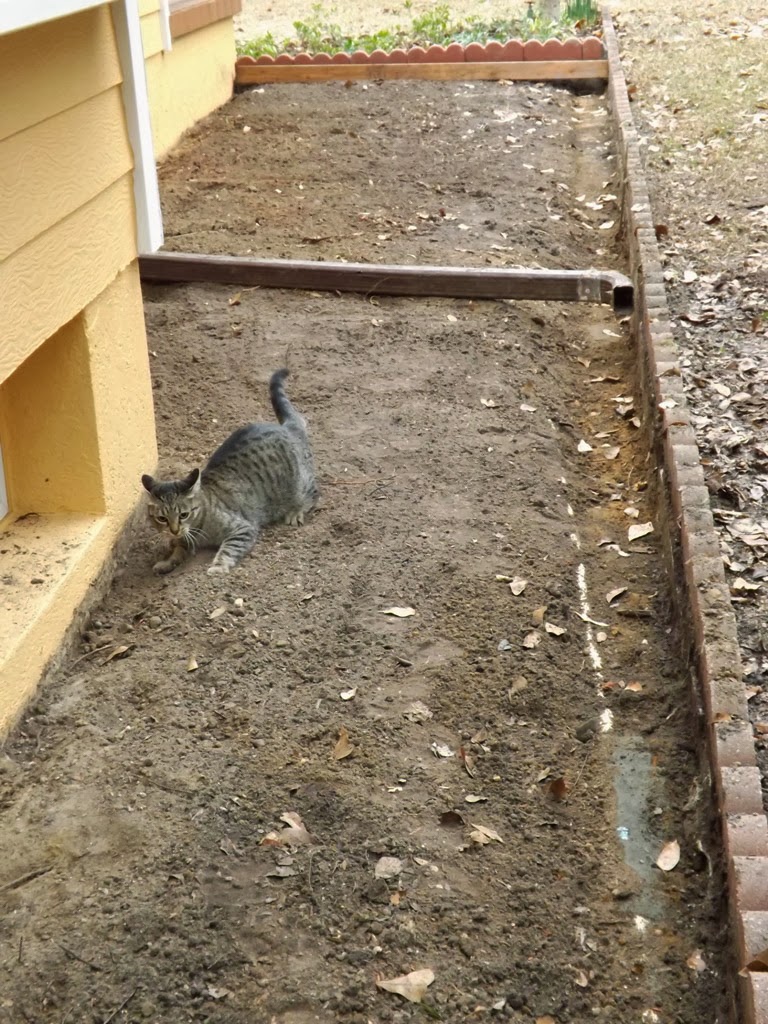
Bandido's tiny sister Tiggy-Tiger is checking out if there are any prostrate Gardenias left...
Now it is all bare and leveled with a slope, towards the outer Concrete Scallop Edger.
Tell you what... Tiggy-Tiger and her brothers just LOVED this huge sand box for rolling and than tracking sand up the stairs!
Here you see the plan. An aluminum gutter at the end (left) and it is leveled such that it descends towards that gutter.
So the caught rain-gutter overflow from the roof and sky water combined, will run away from the home.
The end of the aluminum gutter on the ground, will discharge the water here onto the little brick platform from where it runs downhill into our back yard.
From the other side you can clearly see how the aluminum gutter will discharge all rain water onto the little brick platform.
The soil that got leveled off for making the place descending, got wheelbarrowed here in a rather low and wet area near the pond and greenhouse.
Now this is the front of the house, where the front porch, office and guest bedroom is.
Also prostrate Gardenias need to be dug up here.
Same procedure; leveling off descending towards the Scallop Concrete Edger and the aluminum gutter...
You can see where the plank is how much it descends.
Ha-hah, our cat-supervisors left their Litter Clean bucket out here...
Funny how Pieter has been using that, for mixing his concrete!
This is the end and Pieter did pour some concrete as a wall with Scallop Concrete Edger on top to mark its end.
The black Drainage Culvert Pipe goes underground from here, at the end of the aluminum gutter...
Here you see the black Drainage Culvert Pipe go underground... more or less.
There is always cat-supervision!
One growing season further and it will all be invisible.
Bandido and his sister Tiggy-Tiger like what their Papi has accomplished!
Tiggy-Tiger dreaming about her HUGE sand box but it will not be that way for long...
Check out {Water Control Project Finished} which will be published in 6 days!
Thanks for visiting.
Related links:
{Retainer Wall Extension for Water Control} | previous post by me
{Pipe under Brick Walkway & Trench for Water Control} | previous post by me
{Our New Retainer Wall & Vinyl Picket Fence} | previous post showing you part I of Water Control
{65 Year Old Pine Tree Cut Down} | previouis post showing you preparation of Water Control


